Showing posts with label Sally Hansen. Show all posts

Friday, October 31, 2014

Jamberry Nail Wrap Review!!

So for anyone who doesn’t know about them, Jamberry nails are HOT!


You’re probably familiar with the idea of them but these are so much better than any other stick on nail decals. These stickers have way less chemicals, they’re cost effective, fast and they last!  Check out this pic!


So they’re less harmful to nails by a lot. Now for the costs. It's about $15 per sheet but there's a deal where you can get 4 sheets for the price of 3! Now check out how many mani's you can get out of them and for how much!


Now for me, I normally do my own nails but these are really great for a day or for a week that you know you’re going to be super busy and won’t have time to actually paint your nails. It takes about 15 minutes to apply everything with Jamberries. It takes 15 minutes to do the first couple coats of base and color with polish.

That’s a lot of time saved PLUS, you don’t have to worry about knicking or dinging a nail and have to either deal with the defective nail or re-do it. Which takes even more time.

So the amazing lady that has given me samples to try and show you all, is Meg and she is one of the most adorable people I have ever encountered. She’s sweet, loves coffee(like mwaa..), super friendly and just cute! She’s a great consultant for the Jamberries and so easy to work with. So here is her link, please let her know that you found her through me! Meg'sLink

For this mani, I used China Glaze’s “For Audrey”, Sally Hansen’s “250 Lightening” and Orly’s “Dazzle”. As well as a plain black acrylic paint. Pretty much took this opportunity to just do whatever to my nails and I liked most of them except my pinky. 

Jamberry wrap on pointer finger is called Teal Mini Polka!


So look at how well the Jams stayed on verses nail polish. SUPER WELL!! I don’t pick at my nails at all so this just just chipping from every day activities such as showering, washing dishes, cleaning building and whatever else you do in a day.  And yes, there is some wear on the Jam nail but it's so minimal verse all the other nails. 


They’re very worth it and there are soooo many cute designs! So check ‘em out and lemme know how you like them! 

Sunday, October 26, 2014

Day 3 - Yellow Nails

I feel slightly..sheepish(?) about where my idea came from but slightly amused by it as well.


Ready?


A chopstick cover slip.


It is so weird how you’ll see a random thing/pattern and BAM! Nail Idea. :P


So, base color is Sally Hansen’s “250 Lightening” and a mixture of Savvy’s “Golden Honey” and an unnamed brown that’s a decade old with Bundle Monster’s plate 314. It’s the closest I could get to the design and I kinda like it. And I don't really care for yellow...but I do like this. 

Top design


I sorta reminds me of Belle’s ball gown in Beauty and the Beast.  Yellow dress...swirly brown hair....Ahhh….Disney. ^_^

Monday, October 20, 2014

Day 2 - Orange Nails

Alrighty ladies. I could have sworn that this color was going to be the death of me because I couldn't think of anything good for two days!

Then I did them last night and...I like them. Alot.

Right about now is the time when the leaves start changing to the reds and orange and it all has such a beautiful orange hue to them so naturally, this was my inspiration! I so love fall and this was a good mani for me to do.


I used Sally Hansen's "250 Lightening", SH's "Orange Impulse" and Revlon's "730 Valentine" for the base gradient. Then I used plain ol' black acrylic paint to draw the leaves on. Seche Vite to top it off with.


Sorry about the yellow tint on my hands, the polish seemed very attached to me...


Like I said, it took forever to figure out what to do, but this is def one I like!

Good - 1
Meh - 1


Alli

Monday, October 6, 2014

Nina Meets Glam

Hola!

I really do love the Nina nude polishes, so I decided to try out two designs at the same time. Hence this one being on my right hand.

With the same Nina “Spun Sugar”, I did another tape mani. It was deffinelty more of a hassle doing in on my non-dominant hand but I really liked the looks of this one. Not super noticeable but it still had the glam factor.


So I took a piece of tape, folded it in half, cut out a thinner line at the bottom and flared it out at the top to be wider to make the shape you see there. Laid her on top and used Sally Hansen’s XtremeWear 485 “Golden-I” to get a nice gold color.

Once that was somewhat tacky, I tried putting E.L.F. “Golden Goddess” on top. Didn’t quite work just brushing it on so I ended up using a toothpick to place the shiny flecks where I wanted them. Once that was done and it still being wet-ish, I carefully pulled the tape off.


For those who may not know, it’s a lot harder getting the tape off without pulling polish if it’s still a bit wet. And another thing I do is I touch the sticky side of the tape a few times so it doesn’t stick so hard either.

Anywho, That’s all for today!


Ta ta for now!


Monday, January 21, 2013

Update on me and Pōlish Polish

Well, good morning to whoever reads this! It's been quite a while since I've posted anything. I wanna say since before last fall. Since my last post, I have started college which has been amazing!! My first semester was good and I'm in my second week of the second semester and its going great so far and I am absolutely loving the college experience. I am going full time this spring with 14 credits and with various other things I do, my plate is pretty full. I've only done one other mani aside from that one I'm showing today since I've started school. I lost alot of steam for any inspiration and motivation to do any mani's and I didn't want to force it so that I didn't dread doing then, you know?

But anyways, it's been a while and I'm getting the hang of balancing school with everything else so I may be able to post occasionally. Plus I have an iPod touch now that allows me to make posts that include pics. It's amazing how that can help. :P

So here we go!

What I did for these was quite simple. I used Sally Hansen's French Kiss as my base and I wanted to do something else to them without being extravagant. I had had some rhinestones that I'd never used and I had enough yellow ones for both hands, so that's what I did.

I love the navy blue and yellow combo. Adding some white would have been nice but I wanted to keep it really simple.

Like I said, I've never used the rhinestones and its been very interesting. They stick up off my nails and its weird when it feels like I have something stuck to the base of my nails. Different.....but good. I might try something like that again sometime. :)

Well, hope you all have a great day and weeks to come. Adios, Chickas!


Saturday, July 21, 2012

County Fair Nail Art Contest!

**Warning: This post has LOTS of pictures. 

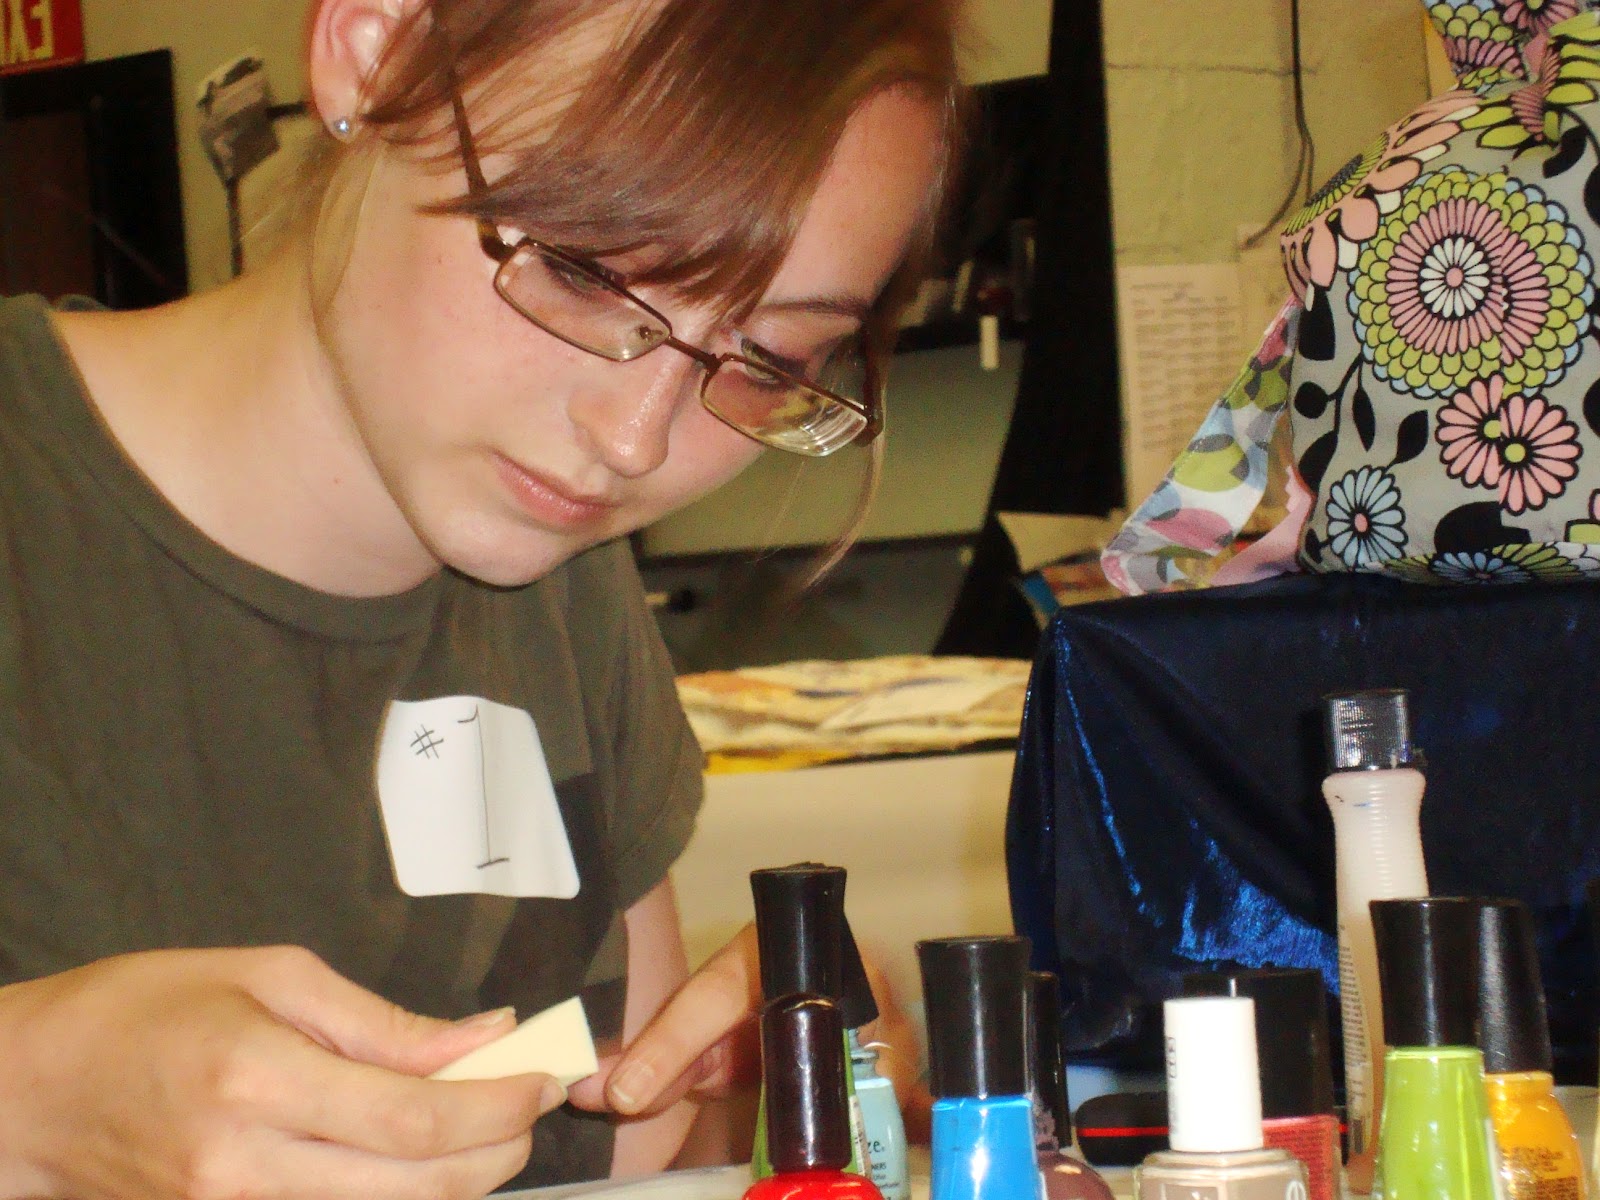
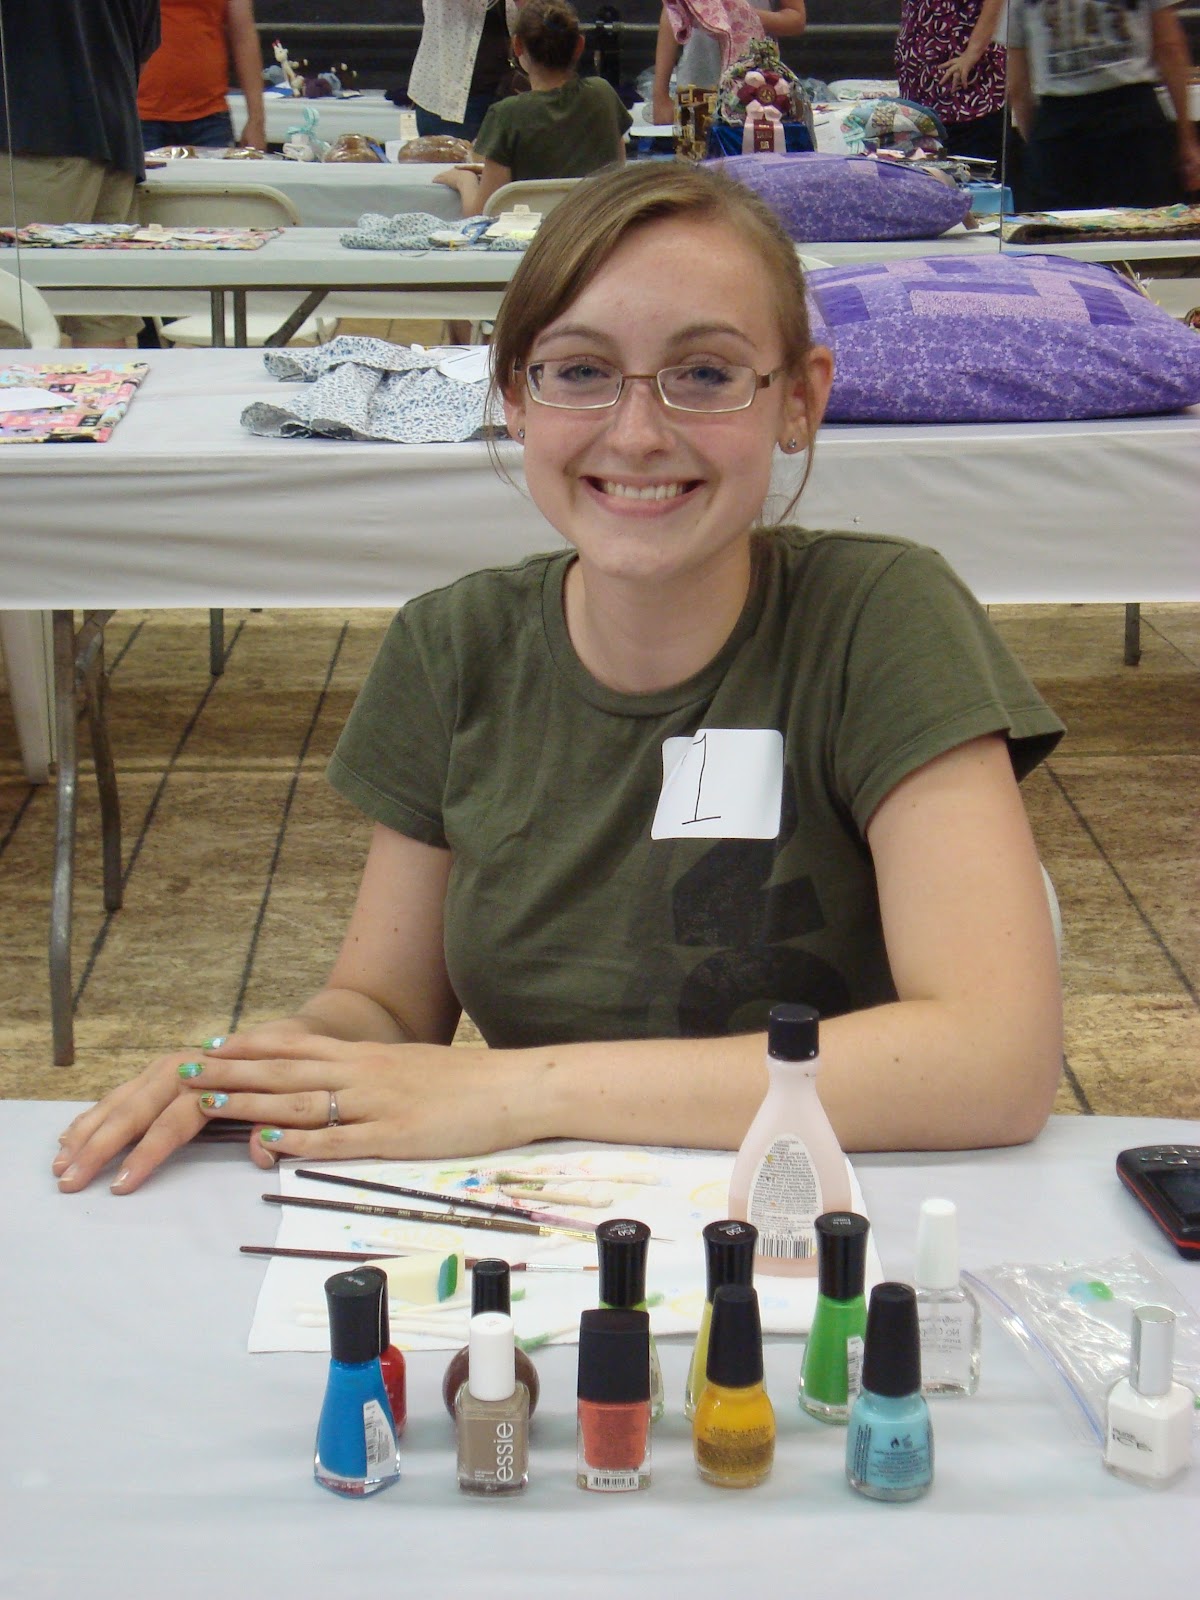
Hello, my lovely readers!! I have exciting news! I won my first ever nail art contest!! It was part of our county fair and it was for amateurs so I thought it would be a great idea for me to do it. I figured that even if I didn’t win, that it would be a good experience and that I’d meet some people that were passionate about nails. And I got both! There were only two other people competing however.  The older one, Jana, was so nice and she was really good! She had only been doing nails for a month and I thought they were great!

                                                                              Here I’m getting ready…


                                                  Me being obsessive about where my polishes are…Heehee!

                                                                                    My cheer squad! 


                                                Starting the mani with my bangs in my face. Like always. :P


So concentrated. Earlier today, I had done the mani and I had had a stiff cup of coffee and was all jittery and it turned out great. So I figured that if I could do it all jacked up on coffee, that I’d be able to do it without jitters. Well….I was shaking the entire time. Literally. So it was good that I had a practice run beforehand. ^^


                                                                  Jana’s and mine finished product.


                                                                                           People…


                                         So happy that it’s done! It was a bit terrifying but SOOOO exciting!


                                                             All three contestants and the two judges.


                                                                 Me grinning out of shear joy. Nbd…..XD


                                                                                       And Jana and I.


So are you ready to see what I did?!?! Tada!


I did a gradient with blue and green for my base, used an brown and light brown for the tree, and just various colors for everything else. If anyone want an entire list, just comment and I’ll get it. I’m bushed right now and I don’t want to go see what they are all called. ^^  Lazy me…I will say that I used Sally Hansen, China Glaze, Pure Ice, some Revlon, Elf, Essie, Sinful Colors, aaaaannnnnndddddd......I think that's it. :D


                                   And I got this stellar ribbon! Bragging rights are actually really nice. Lol 


My prize was this really pretty goldish color by Pure Ice, Jaguar, and a gift certificate to the sponsoring salon for a manicure. 

Anyways, it was a blast and I’m ready for round two! I’ll have to think of some other things to do for next year and hopefully, I’ll be better than I am now. Oh, and I have several more new ideas of what I should do with my nails! Any suggestions are very welcome. :) Hope y’all had as good of a day as I did!

In Christ,
Allison

Wednesday, July 11, 2012

Sally Hansen Insta-Dry Orange Impulse


Afternoon!

Today’s mani I just wanted to try doing whatever I could think of with just a couple colors. So I chose orange, grey, and white. I was quite pleased with the outcome, but there were definitely things I’d do differently.


I used Sally Hansen’s Insta-Dry Orange Impulse, Pure Ice’s Kiss Me Here, and Pure Ice’s Superstar. And then for the thumb(which is down low), I used matching colors of acrylic paint. I’m really digging the acrylics right now. XD For the middle finger, I used the white base and then stamped twice with RA plate 119 in both the grey and the orange and that was one of my favs of this mani. 


I really enjoyed doing this and I’m going to be doing it again. Perhaps in the next post.  :)  Have a great day!

In Christ,
Allison

Saturday, July 7, 2012

Nutella and Sunsets. Ahh...


Hello!

So I’ve been trying to become more diverse as of late by coming up with my own ideas, cuz I have a habit of being a copycat and putting my own twist too it.  And those who know me know that I love Nutella. Almost obsessively so. :) So…I cleaned out one of the containers and I’m using that as an idea shuffler! And I’ve got plenty of ideas. :)


Above is me cleaning it out with some hot milk and below is the end product.


It actually still smells like Nutella, so I’m a very happy camper. Heehee!

Anyways, I did this pedi a couple weeks ago before our staff training and I didn’t get any pics of it, except for this one…


And I was so bummed that I didn’t get any good pics, so I decided that I was going to recreate it! Ta-da!!


I think that this is one mani that I would probably do several times, just cuz I love it so stinkin’ much. I also really like the silhouette thing, so I might try something like that sometime. We’ll see. :)  And yes, i know, I have a big space in my toes. :P Anyways, it's Sally Hansen Insta-Dry Orange Impulse and Lightening, Revlon's Valentine and a black stripper pen. And I used the gradient technique. Hope y'all are having a great week!

In Christ,
Allison

Wednesday, July 4, 2012

Finger Paints Laugh My Art Off and Independence Day!


Happy Independence Day!!  We’ve been free of English rule for the past 236 year! However, there are some pretty stellar people in England. :) A lot of my favorite bloggers are from the UK, so I love the UK just for that reason. ^^ On to the mani!

I got really excited the other day cuz I thought of this idea all on my own. So proud of myself! So I started doing it last night and looking back, I should have done it TOTALLY different. I pretty much did it the hard way. I should have done all the red first, let that dry and THEN do the blue. I did it the retarded way. :P Oh well….Ya live and learn. :)


First, I did my base coat, Sally Hansen Nail Nutrition Green Tea + Bamboo Strengthener, as always. Then I used Creative Nail Design’s 94 Hot Lips as my base red, let that dry and then I tried doing a freehand French Tip on my left pinky with Sally Hansen Insta-Dry Blue By! and I succeeded.…..But then I tried doing it on my left ring finger.  I re-did that one. :D So I used some of my French Manicure guide strips from a Sally Hansen French Manicure Kit that I got once, which I love. 


Anyways, I used that and I had originally planned on just doing glitter on two fingers instead of the entire hand, but Mom thought it would look really cute with them all glittery. And mother knows best! After I had my base colors on, I then put on a coat of China Glaze Ruby Pumps, a red glitter that has a red tint to it. Then I used a blue glitter over the tips, Finger Paints Laugh My Art Off. 


Fourth of July isn’t complete unless you have all three colors, red, white and blue. So I did white dots on the tips using Pure Ice's Superstar. I didn’t do anything glittery for the dot cuz there was already SO much glitz on the nails and I’m glad I didn’t. The in finished up with a coat of Seche top coat. I honestly wasn’t too happy with the mani last night. It didn’t turn out how I had hoped, but the longer I have it on, the more I love it. So it’s a wonderful mess-up!

As for Fourth of July plans, I think we might be going to see a fireworks display this evening. What are your plans? Whatever they are, stay safe and think smart. :)

In Christ,
Alli

Sunday, June 24, 2012

Sally Hansen Rose-a-go-go!


Afternoon, Lovelys!

I’m trying to stay on top of things here by actually doing mani’s so that I can be semi regular with my posting. It has seemed like it’s rather busy as of late because our camp season has begun and I’ve been working on devotionals and things to do with the kids. The camp that I counsel at is for inner city kids with one or more parents in jail and we teach them about God. It’s been a challenge for me, not only mentally, physically and emotionally, but also spiritually. It’s challenged me in my faith and I’ve had to teach kids things I didn’t know and that’s forced me to learn what’s in the bible. I am a bit lacks in that area and I’m not proud of it. But it’s forced me to dig deep and learn myself, and so it’s been beneficial to me as well. Plus, it’s a blast being able to do the camp. I’ve made life-long friends there and I enjoy them all so much. Sometimes. ;)


Anyways, the mani I’m showing today is with Sally Hansen Insta-Dry 06 Rose-a-go-go and Bundle Monster plate number 208.  Surprisingly, I liked it. It was more of a fleshy pink than a pink pink, so that helped a lot. :) 

Anyways, hope y’all are having a great week!

In Christ,
Alli

Monday, May 28, 2012

Sally Hansen Xtreme Wear Lacey Lilac


Hey everyone!

Today, I’m going to show you a mani that I did for some choir performances that I was involved in a month ago. It took me a total of three days to complete it and here’s why. We were super busy, I didn’t have much time in the evenings to do the entire thing, and it was my first tape mani. I am, however, really digging the whole tape mani idea. Very simple, very easy.

For the base, I used China Glaze Spontaneous and I let that dry completely. Aka, a day. :) Then, I used Sally Hansen’s Xtreme Wear Lacey Lilac with the tape. Jane at Nailside, does some *amazing* work with the tape and I’m hopefully going to be doing some more of these types’ of mani’s.  First time I did it, however, was a complete fail. :P  I can’t stress enough, *wait for the paint to dry all the way!!!* And making the tape not so sticky is a good idea too. Like putting it between you’re fingers a couple times. If that makes sense….


Finally, after the third day, I used Art Deco’s Silver glitter stripper pen. Brush, but they call it a pen. ^^ I thought it looked really good, and I apologize for the terrible pic. I am still working on what to do with the lighting to make an accurate photo. I don’t quite have room to make a light box, but hopefully, when I move out, I will. :)

So. Have you ever done a tape mani? Was it a success? Was it a miserable fail like my first time?

In Christ,
Alli

Monday, May 21, 2012

Gradient Using Sally Hansen Insta-Dry Lightening


Hey y’all!

As most of you know, there’s a popular trend going on lately called “gradient” nails.  I tried doing this earlier but I couldn’t do it without making a serious line in the nail where you dab it on.  Like so..


BUT! The wonderful Sam from Nailasaurus did an eye-opening tutorial here on how to do it and it was SO helpful! My second one was alot better.


I used Sally Hansen Insta-Dry Lightening for the base and did the gradient effect with Revlon’s 730 Valentine. Using the sponges for these mani’s are really easy and it gives it a really cool texture. You can use pretty much any combination of colors, like same color/different shades or contrasting colors or whatever. Very cool and I’m wanting to try out a multi-colored animal print with this technic sometime.

 What’s a technic you’d like to try sometime?

In Christ,
Alli

Monday, May 14, 2012

Rimmel London Lasting Finish Pro Rags To Rich!


A while back, I found out how amazing CVS is. They have the best polish selection *ever*! I had gone in there expecting to see the same selection of SH and Essie at Wal-Mart and Wal-Greens, but oh, no! That’s not what I saw! I saw Orly, Sally Hansen, Confetti, Revlon, Rimmel, Spoiled, Loreal, Wet n’ Wild, and Seche! It was like Christmas for me again! :D I guess you could say that I was just a little excited. :)

So anyways, I’d been looking for a nice deep green and while in CVS, I spotted their Rimmel London Lasting Finish Pro Nail Polish Rags To Rich! It’s a shimmery forest-y green and I was really stoked! That was also close to my birthday when I got a SH No Chip Acrylic Top Coat. So around the time of my birthday, I used the Rimmel polish and the top coat together and it was terrible! The polish wrinkled when I touched it and then after it actually dryed, it started cracking!! CRACKING!  Then, I tried it again with my regular top coat, Orly’s Polishield Three-In-One Top Coat, and it worked just fine. No wrinkles, so cracking, no nothing. So…I have decided to only use that Sally Hansen top coat for my toes. :) And that’s my rant for the day. Heehee!


Anyhooo….I did this mani with the Rags To Rich  and Red Angel’s 109 stamping plate with a white polish. I really liked that one. The stamping is really easy once you get used to it and I’d recommend it to anyone who wants to do their own nail without having to go to a salon and pay twenty buck on a mani.  It’s really fun too. :)


Have you ever done any stamping? How do you like it?


In Christ,

Alli